Vegetable Garden
How to Grow Tomatoes at Home (Even in a Small Space)
You don't need a big backyard to grow tomatoes. Here's a practical guide to growing tomatoes at home, in containers or garden beds.

You don't need a big backyard to grow tomatoes. Here's a practical guide to growing tomatoes at home, in containers or garden beds.
Homegrown tomatoes are one of those things that will ruin you — once you taste one, grocery store tomatoes never taste the same. The good news: you don’t need a sprawling backyard to grow them. A balcony, a patio, or even a sunny windowsill can work if you choose the right varieties.
Here’s a straightforward guide to growing tomatoes at home, whether you have a backyard bed or a few containers.
Choosing the Right Tomato Variety
This is the most important decision you’ll make. Tomatoes come in two main types:
Determinate (bush) tomatoes grow to a fixed height, produce fruit all at once, and stop growing. Great for containers and small spaces. Examples: Roma, Celebrity, Patio, Tumbling Tom.
Indeterminate (vining) tomatoes keep growing and producing all season until frost kills them. They get large and need staking. Great for big gardens. Examples: Cherokee Purple, Big Boy, Brandywine, most heirlooms.
For small spaces and containers, go determinate. They’re compact, manageable, and purpose-built for limited space.
What Tomatoes Need to Thrive
Sunlight: Tomatoes are sun lovers. They need at least 6–8 hours of direct sun daily. South or west-facing balconies and patios are ideal. If you can’t provide this, grow something else — tomatoes don’t compromise on light.
Warmth: Tomatoes don’t like cold. Don’t plant outside until nighttime temperatures stay consistently above 50°F (10°C).
Space: Even compact varieties need room. In containers, use at least a 5-gallon pot per plant; 10 gallons is better for most varieties. In garden beds, space plants 18–24 inches apart.
Support: Almost all tomatoes benefit from staking or caging. Even compact varieties get heavy with fruit. Install support at planting time so you don’t disturb roots later.
Starting From Seed vs. Seedlings
If you’re new to tomatoes, buy transplants from a garden center. Starting from seed gives you more variety options but requires 6–8 weeks of indoor seed starting before transplant time, plus grow lights. It’s rewarding but adds complexity.
If you want to try seeds, start them indoors 6–8 weeks before your last frost date. Plant 2–3 seeds per small pot, keep them warm and under bright light, and thin to the strongest seedling.
Soil for Tomatoes
Tomatoes are heavy feeders and need rich, well-draining soil. In containers, use a high-quality potting mix specifically formulated for vegetables — not garden soil, which compacts in pots and drains poorly.
Mix in a slow-release fertilizer or compost at planting time. Add a layer of mulch on top to retain moisture and regulate soil temperature.
Planting Tomatoes
Plant deeper than they come in the pot — you can bury up to two-thirds of the stem. Tomatoes grow roots along buried stems, giving them a stronger, more extensive root system.
Water deeply at planting time. Then give them a few days to settle before resuming regular watering.
Watering Tomatoes
Inconsistent watering is the biggest cultural problem with tomatoes. It causes blossom end rot (dark, leathery patch on the bottom of fruit) and cracking.
Water deeply and consistently. Check the soil daily in hot weather. For containers, you may need to water every day in summer heat. A consistent moisture level — moist but not soggy — is the goal.
Consider a drip system or self-watering container if you’re growing on a balcony and tend to forget.
Feeding Tomatoes
Tomatoes are heavy feeders. Start with a balanced fertilizer, then shift to a lower-nitrogen, higher-phosphorus and potassium formula once flowering begins. Too much nitrogen late in the season gives you lush green plants with little fruit.
Feed every 1–2 weeks with liquid fertilizer, or use a slow-release formula monthly.
Dealing with Common Problems
Blossom drop: Flowers appear and fall off without setting fruit. Usually caused by temperature extremes (too hot or too cold) or inconsistent watering. Wait it out.
Yellow leaves: Could be overwatering, nutrient deficiency, or natural aging of lower leaves. A little yellowing of the very lowest leaves is normal.
Blossom end rot: Black, leathery bottom on fruit. Caused by calcium deficiency, usually triggered by inconsistent watering. Water more evenly; calcium sprays help.
Pests: Aphids, tomato hornworms, and whiteflies are the most common. Check plants regularly. Handpick hornworms. Use insecticidal soap for aphids and whiteflies.
Harvesting
Tomatoes are ripe when they reach their expected color (red, yellow, purple — depends on variety) and give slightly when gently squeezed. They should release easily from the vine.
If frost is coming and you have green tomatoes, pick them and ripen them indoors on a counter at room temperature — not in the refrigerator, which ruins their flavor and texture.
Growing Tomatoes in Containers
For balcony and patio growing, here’s a quick setup guide:
- Use a 10-gallon+ pot with good drainage
- Choose a determinate variety: Patio, Tumbling Tom, Bush Early Girl
- Fill with vegetable-grade potting mix
- Add a tomato cage at planting time
- Water daily in warm weather
- Feed every two weeks
- Put in the sunniest spot you have
Homegrown tomatoes from a balcony are absolutely achievable and completely worth the effort.
Pruning Suckers, and Which Plants Not to Prune
A sucker is the shoot that appears in the crotch between the main stem and a leaf branch. Left alone it becomes a full second stem with its own leaves and fruit.
The important part first: if you took the advice above and bought a determinate variety for a container, do not remove its suckers. A determinate plant sets its fruit on the ends of its stems and then stops. Every sucker you pinch off is a branch that would have carried flowers, so sucker-pruning a bush tomato is a direct cut in yield — one of the most common ways a small-space grower quietly halves their own harvest. The only pruning a determinate wants is the removal of leaves and shoots below the first flower cluster, which keeps foliage off the soil.
Indeterminate vines are the opposite case. They will branch indefinitely, and a plant with eight stems in a five-gallon pot shades itself, crowds its own airflow, and ripens late. Prune those to one or two main stems, taking suckers while they are two to four inches long and still snap off cleanly between finger and thumb. Larger ones need shears, and leave a bigger wound.
Pinch or cut close to the stem rather than leaving a stub — a stub is dead tissue sitting on a living plant, and it is an entry point. Wipe blades with 70% isopropyl alcohol between plants; tomato diseases move on hands and tools as readily as on wind. And do not strip more than about a third of the foliage at one time: leaves that were shading fruit are gone the moment you cut them, and exposed green fruit sunscalds in a single hot afternoon.
Helping Flowers Set Fruit Without Bees
Tomato flowers are self-fertile. Each one carries its own pollen inside a cone of anthers wrapped around the stigma, so a single plant on a balcony needs no partner and no insect to deliver anything. What it needs is vibration — enough of a shake to knock pollen loose inside that cone. Outdoors, wind does it. Bumblebees do it deliberately, gripping the flower and buzzing at a pitch that shakes the pollen out; honeybees mostly cannot. A sheltered balcony or a corner behind a windbreak may have neither.
Doing it by hand takes seconds. Flick the flower truss with a fingertip, or tap the stem just behind it, once a day while flowers are open. The classic trick is to hold a switched-on electric toothbrush against the stem behind the truss for a couple of seconds. Late morning to early afternoon is the moment worth choosing, once humidity has dropped — damp pollen clumps and stays put.
Be realistic about what this fixes. Pollen viability collapses when days run above roughly 90°F or nights stay above about 75°F, and fruit set is poor when nights fall below about 55°F. In those conditions flowers will drop no matter how diligently you tap them, and that is the blossom drop described earlier — a heat problem wearing a pollination costume. Hand-pollinating improves set in still air. It does not overrule the weather.
Airflow and Leaf Wetness
Most of what shortens a tomato plant’s season is fungal, and the two you are most likely to meet — early blight and septoria leaf spot — share a requirement: their spores need free water sitting on the leaf to germinate. That single fact is what makes airflow worth managing, because everything useful follows from keeping leaves dry and letting them dry fast when they do get wet.
Water at the soil line rather than over the canopy, from the first day and not at some later height. Water in the morning, so anything splashed dries within the hour instead of staying wet all night. Strip the lowest leaves once they start brushing the soil — spores overwinter in soil and debris and arrive on the plant by rain splash, which is also the best argument for the mulch layer mentioned earlier. Give plants enough room that canopies are not pressed against each other, and resist the urge to fill the last gap on the balcony with one more pot.
One honest caveat about fans: they are worth running for a plant growing indoors, in a greenhouse, or under a covered patio, where stagnant humid air genuinely lingers. Outdoors, leaves get wet from dew and rain on their own schedule, and a small fan will not out-argue the weather. Note too that powdery mildew is the exception to all of this — it germinates without free water, so a dry-leaf routine will not stop it, though good spacing still helps.
Staggering Plantings So the Harvest Lasts
A determinate plant ripens its whole crop in a concentrated two-to-three-week window and then finishes. That is a feature if you are canning and a disappointment if you wanted tomatoes in August and September, and it is the main reason a single-plant balcony feels like a feast followed by nothing.
Two fixes, and they combine well. Grow one determinate alongside one indeterminate, so the bush gives you a glut and the vine trickles on until frost. Or plant the same variety in two or three waves, two to three weeks apart.
If you stagger, later plantings should use earlier-maturing varieties, not later ones. It is tempting to work through short-, mid-, and long-season types in that order, but a long-season plant set out in midsummer runs out of warmth before it ripens. Count backwards from your average first frost date instead, using the days-to-maturity on the tag, and add a couple of weeks of margin because ripening slows as days shorten. Note that the number on a tomato tag is counted from transplant, not from sowing — reading it as days from seed puts a plan six weeks off before it starts.
Plan the waves in spring, because each one needs its seedlings started six to eight weeks ahead. And be careful with one piece of folk wisdom: replanting into the same container after the first plant finishes does not break a pest cycle. Soilborne fusarium, verticillium, and root-knot nematodes persist in the mix, and refreshing the top two inches leaves them exactly where they were. If a plant came out diseased or stunted, dump that mix rather than re-using it for another tomato.
Related Reads
- Companion Plants for Tomatoes — what to plant alongside your tomatoes to deter pests and boost yields
- Raised Bed Gardening for Beginners — raised beds are the best setup for tomatoes; here’s how to build and fill one
- Natural Pest Control for Gardens — how to handle aphids, hornworms, and other tomato pests without chemicals
Keep reading
Related guides
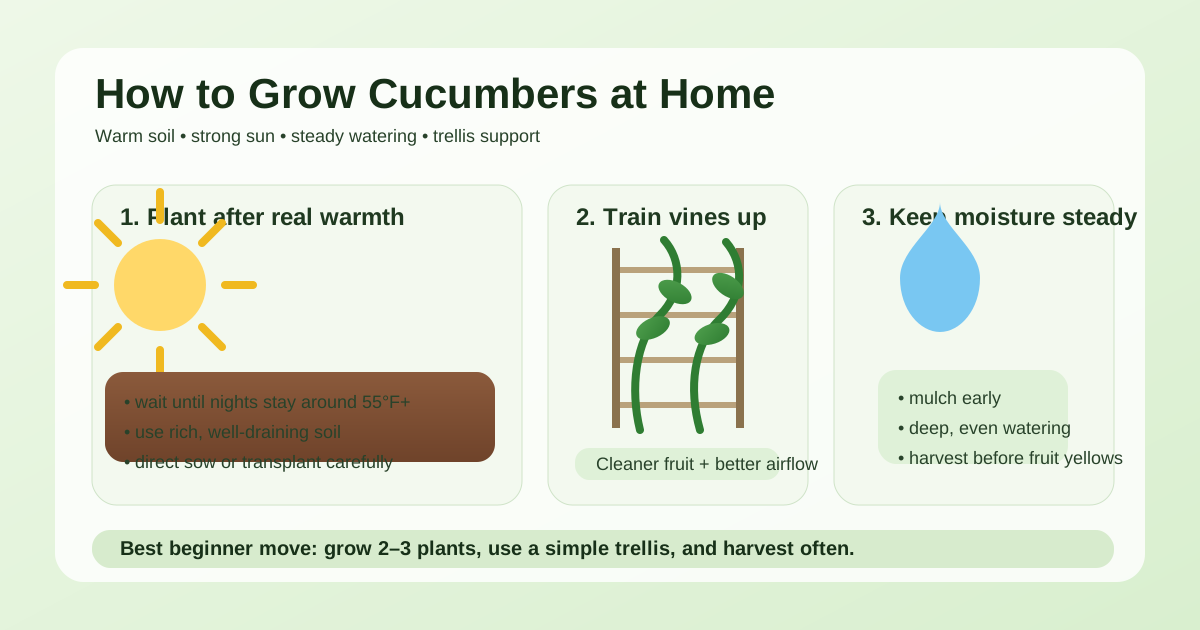
How to Grow Cucumbers at Home: A Beginner-Friendly Guide
Learn how to grow cucumbers at home with practical beginner tips on timing, soil, trellising, watering, feeding, pests, and harvests.
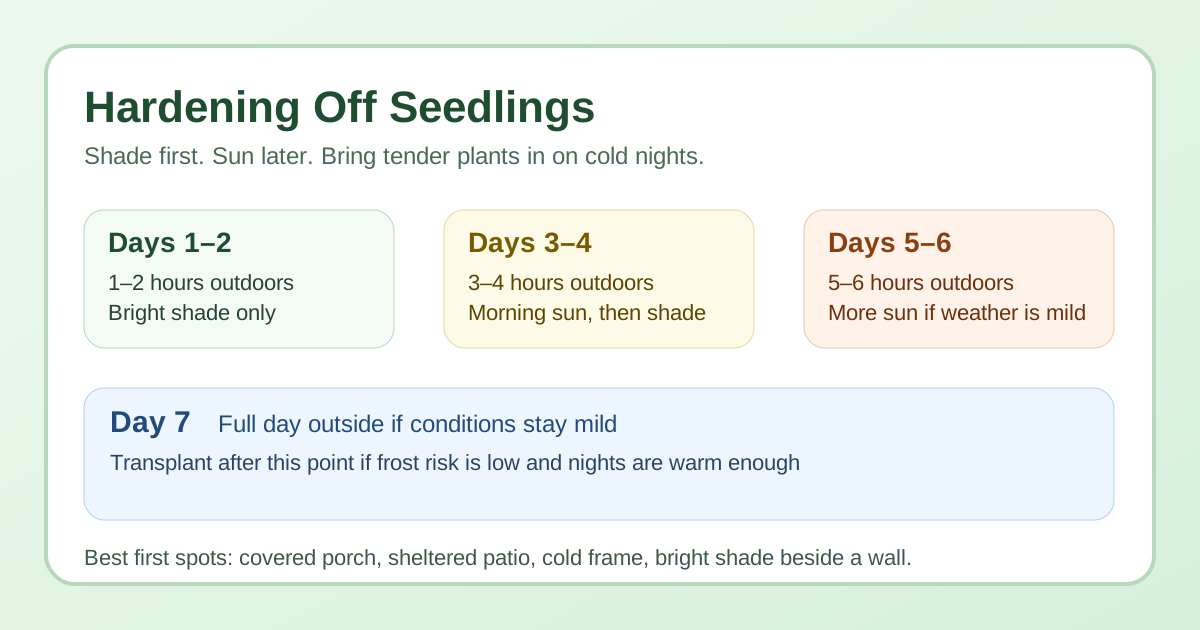
How to Harden Off Seedlings Without Killing Them
Learn how to harden off seedlings the right way so tomatoes, peppers, herbs, and flowers can move outdoors without transplant shock.
How to Grow Peppers at Home: A Beginner-Friendly Guide
Learn how to grow peppers at home from seed to harvest, including timing, soil, watering, feeding, and container tips for beginners.